Using the Ping Sonar with an Arduino
Introduction
Today we’ll be learning how to use Arduino to read and print data from the Ping sonar!
The Ping Sonar is a multipurpose single-beam echosounder. It can be used as an altimeter for ROVs and AUVs, for bathymetry work aboard a USV, as an obstacle avoidance sonar, and more. It communicates over serial, so it’s compatible with an Arduino or any other microcontroller.
Parts and Tools
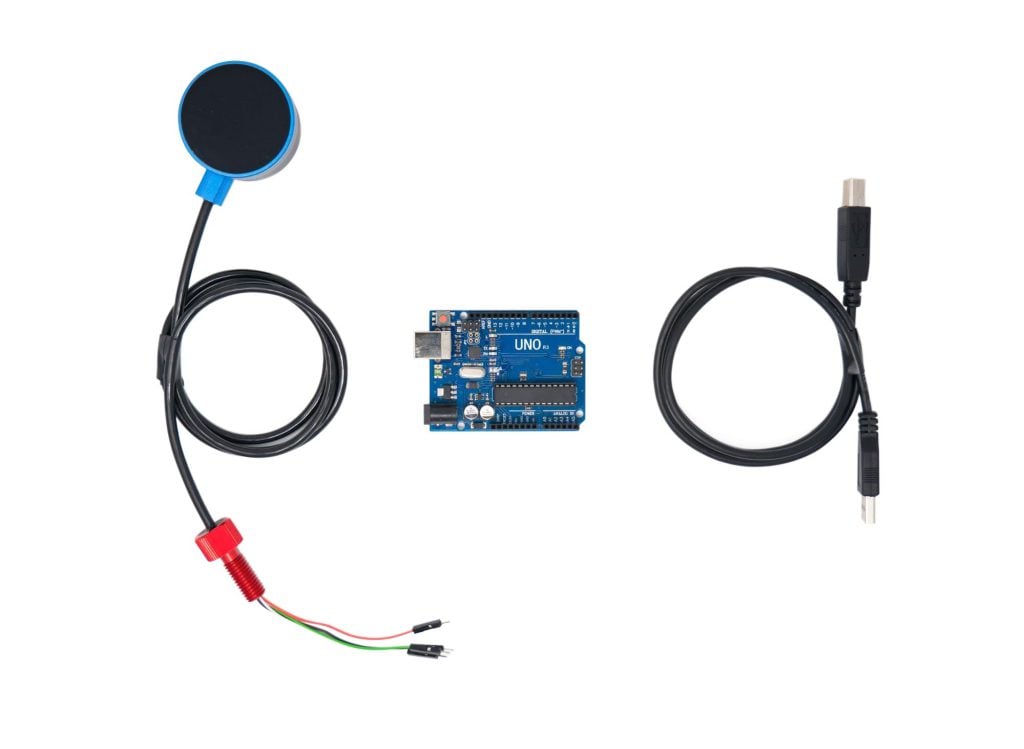
Main components used in this guide.
You Will Need
You will also need:
- 1 x Arduino Microcontroller (This tutorial uses an Arduino Uno)
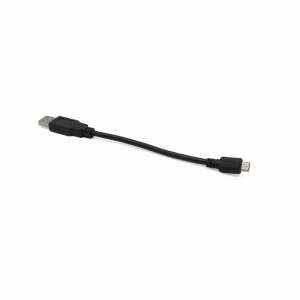
- 1 x USB A to B cable (for connecting to your Arduino board)
- Arduino IDE
- Ping-Viewer
Firmware Version and Baud Rate
The ping1d-simple sketch used in this guide uses the SoftwareSerial library for compatibility with Arduino boards that have only one hardware serial interface, like the Arduino Uno. SoftwareSerial requires the Ping to communicate at 9600 baud. Recently purchased Pings have firmware that will automatically switch to the correct baud rate*, but if you have an older Ping using 115200 baud firmware, you will need to update the firmware.
Updating the Ping Firmware
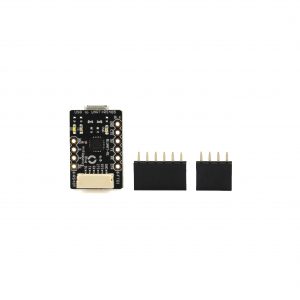
1. Connect Ping to your computer via BLUART or any USB to Serial Adapter
- Follow the instructions in the Ping Sonar Quick Start.
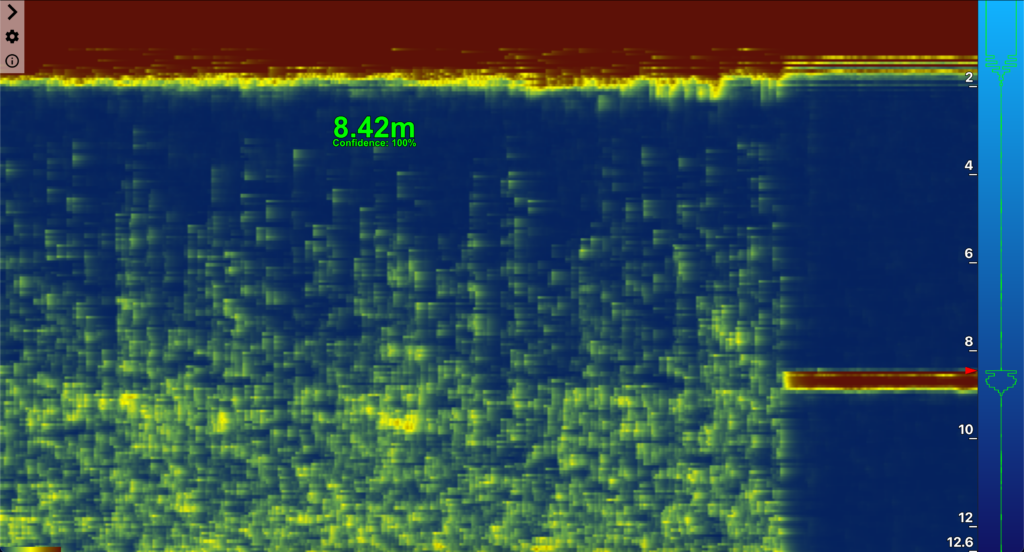
2. Open Ping Viewer.
3. Verify that your device is communicating properly before going further.
- If Ping isn’t communicating, visit the Troubleshooting section of the Ping Viewer documentation.
4. Open Firmware panel by clicking on the gear icon, then click on the third icon with the circular arrow.
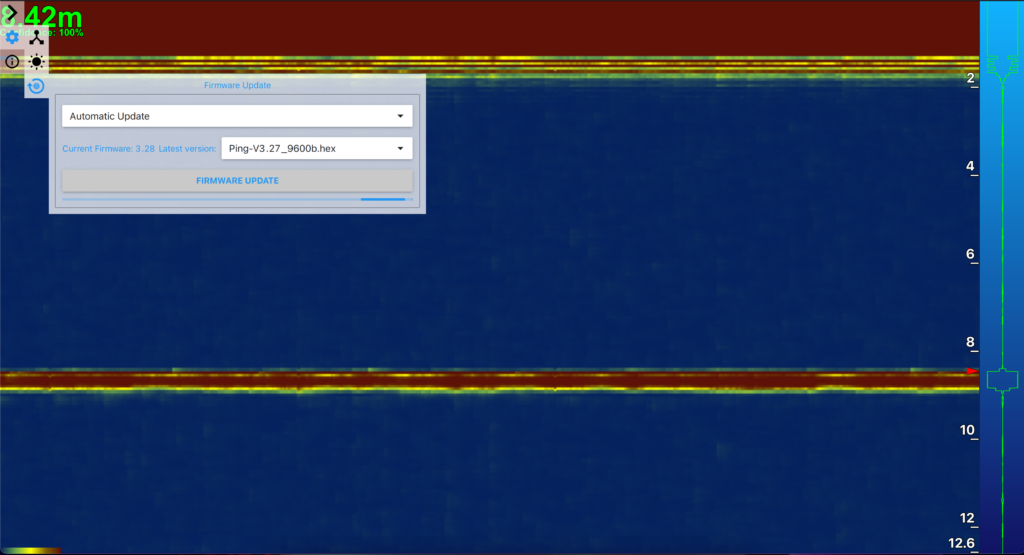
5. Set the version to the latest ‘auto’ firmware (ping-V3.28_auto or newer). If you are already on the latest firmware you can skip to the next section.
6. Ensure that your device is connected securely to a reliable USB port. It is important that it does not lose connection during the next step.
7. Click “Firmware Upgrade”. This will take a couple minutes.
8. When it completes, you should be able to see data streaming again (but slower now).
- If something didn’t work, reference Device Recovery on this page.
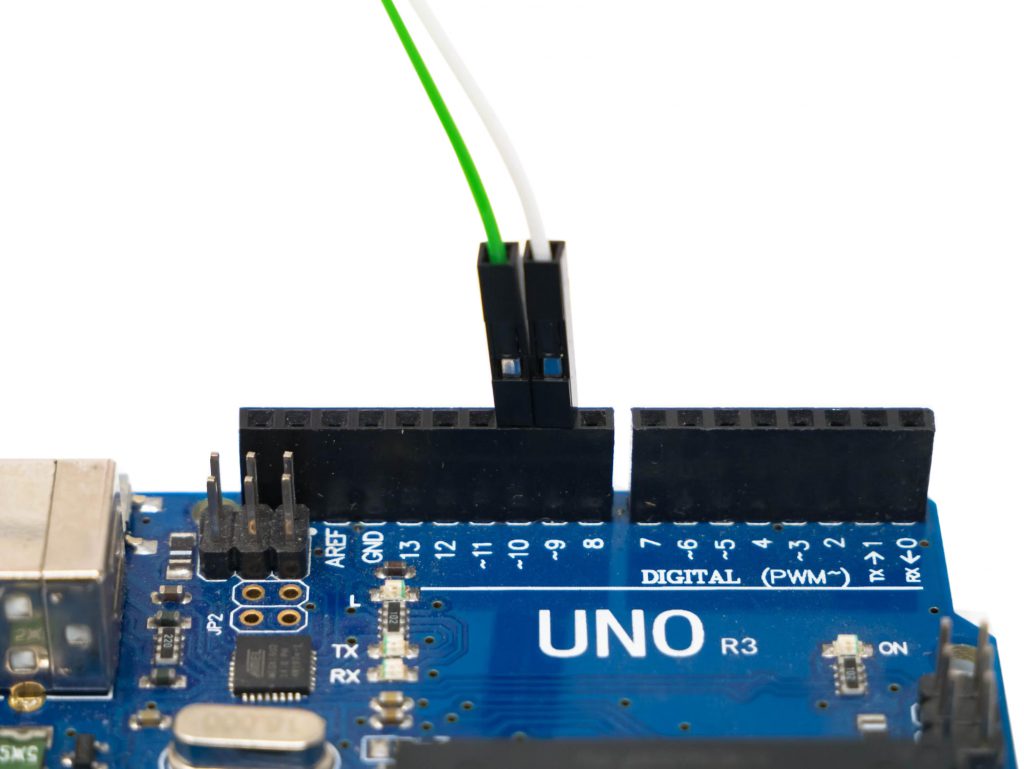
Wire Connections

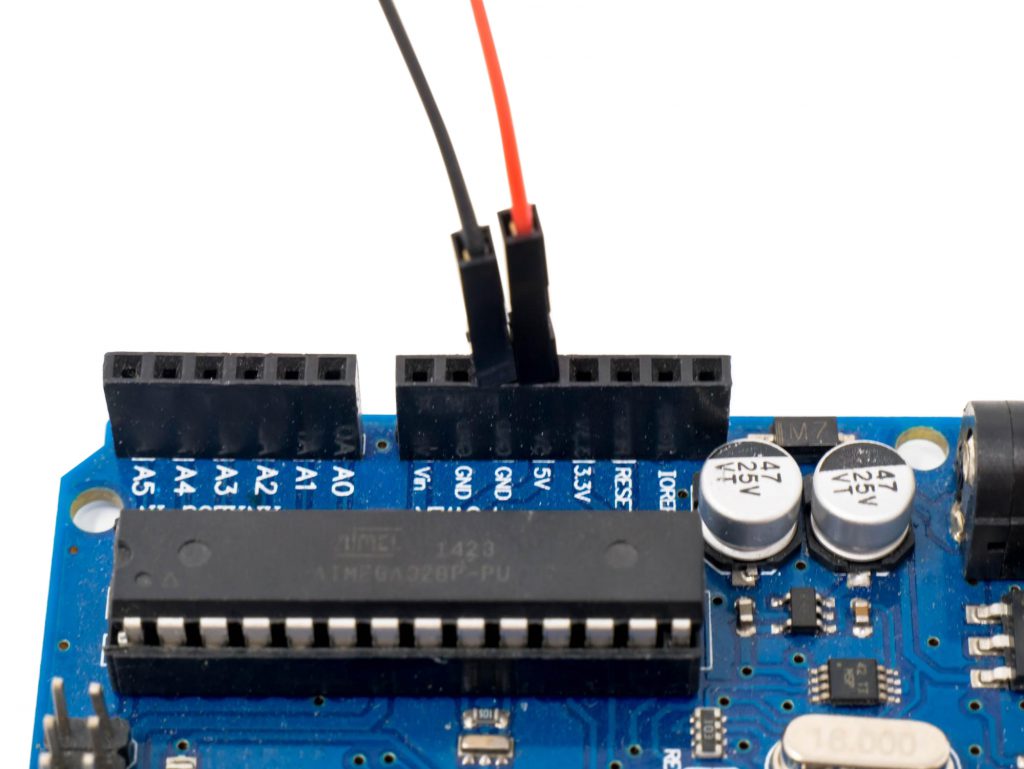
1. Connect the red (5V) wire of Ping to a 5v pin on the Arduino.
2. Connect the black (Ground) wire of Ping to a Ground pin on the Arduino.
3. Connect the white (TX) wire of Ping to pin 9 (SoftwareSerial RX) on the Arduino.
4. Connect the green (RX) wire of Ping to pin 10 (SoftwareSerial TX) on the Arduino.
Arduino Library Installation
Via Arduino IDE
1. Open Arduino IDE
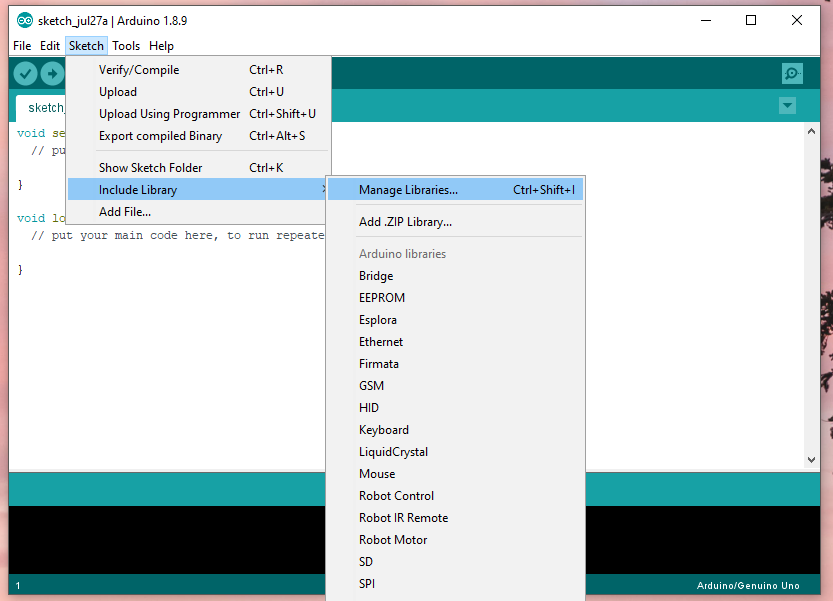
2. Open the Library Manager via Sketch > Include Library > Manage Libraries
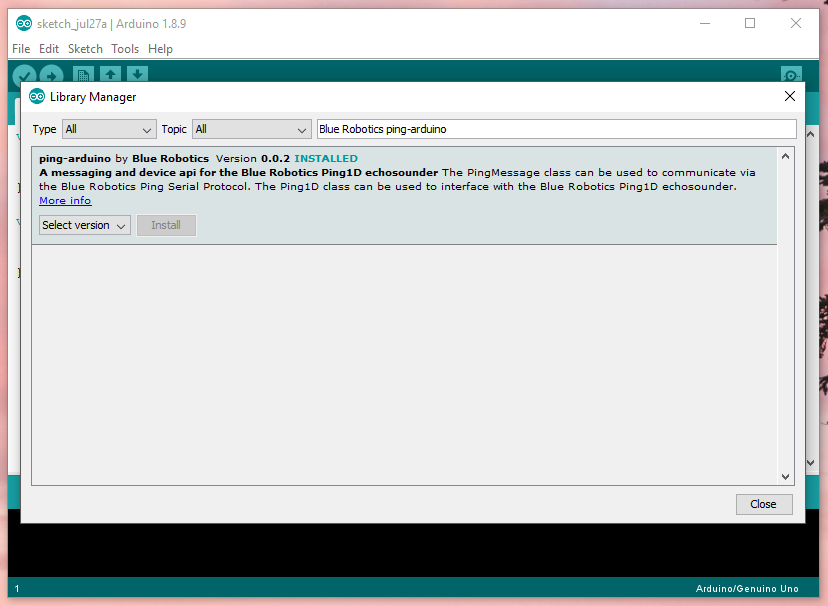
3. Search for “Blue Robotics ping-arduino” and click “Install”
Via ZIP File
1. Download the latest zip here.
2. Unzip the file, and place the folder in your Arduino/libraries folder
Using the Simple Example
To make sure everything is working, let’s upload the simple example sketch to the Arduino. This one gets the depth and confidence readings from Ping, and prints them out to the console.
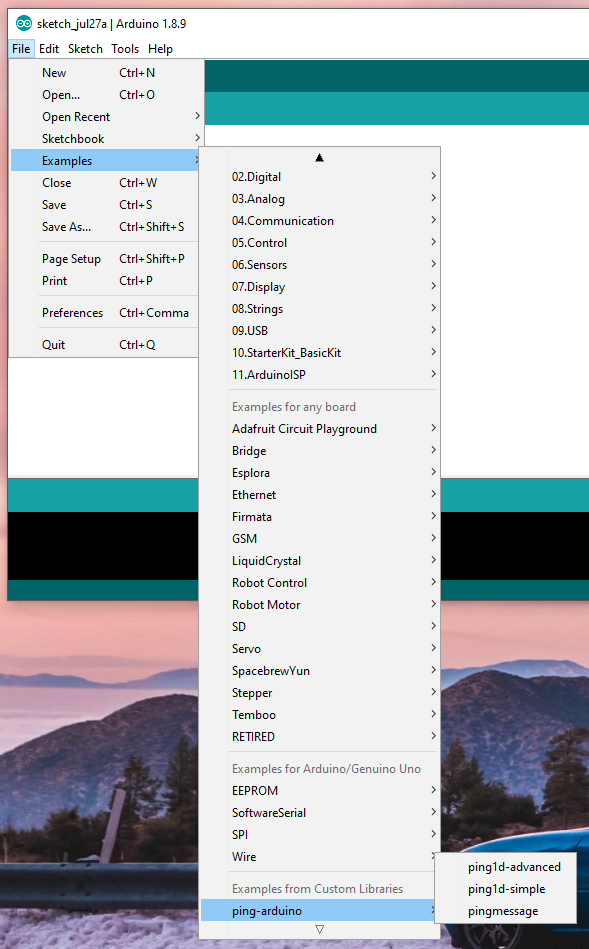
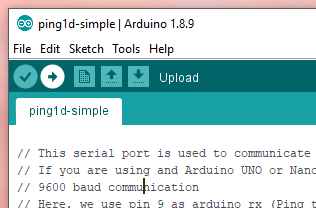
1. Open the ping1d-simple example via File > Examples > ping-arduino > ping1d-simple
2. Upload the code to the Arduino
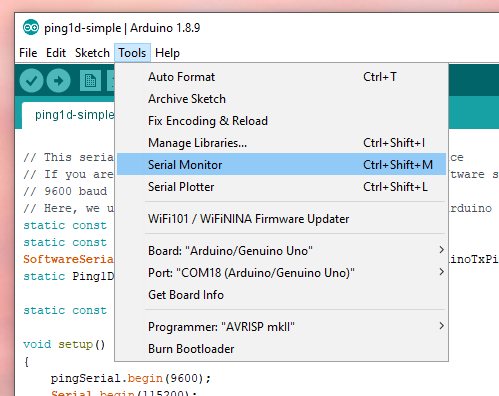
3. Open the Serial Monitor via Tools > Serial Monitor
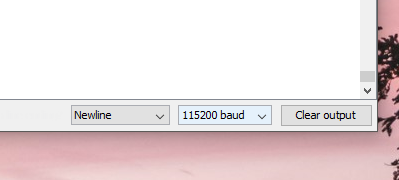
4. Set the Serial Monitor’s baud rate to 115200 (the baud rate of the Arduino)
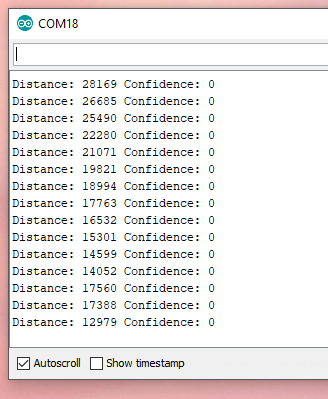
We’re done! If everything worked, you should now see the output in the Serial Monitor. This shows the distance (in mm) and the confidence percentage.
Advanced Usage
There are many ways to interact with the Ping sonar beyond just getting the depth. You can find out more with these resources:
A good way to get started with more advanced usage is by uploading our advanced example with the same process as above:
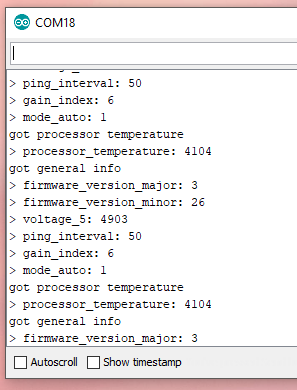
1. Open File > Examples > ping-arduino > ping1d-advanced
2. Click Upload
3. Open the Serial Monitor and ensure the baud rate is set to 115200
4. You should see this data printed in the serial monitor: