
Watertight Enclosure (WTE) Assembly
By Rusty
Introduction
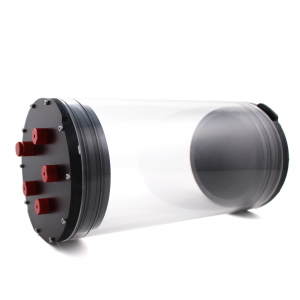
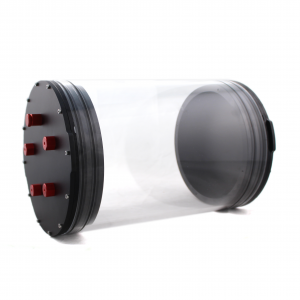
Blue Robotics offers a series of watertight enclosures for use on ROVs, AUVs, and other marine vehicles. A modular design consisting of a tube, sealing flanges, and various end caps allows lots of flexibility and modification. The enclosures are made of high-quality, precision machined parts and are simple to assemble.
Important Notes
Always inspect the O-rings before operation in water and especially when replacing the end-caps, aluminum flanges, or penetrators. Any dust, hair, or other particles can cause a leak.
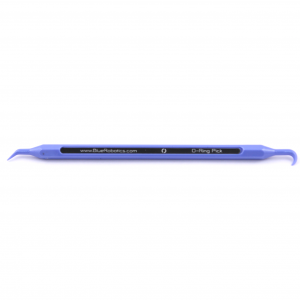
Use plastic tools, NOT steel or other hard tools, to remove the O-rings from the aluminum sealing flange. Hard tools can create scrapes that will compromise sealing ability.
Most threadlockers are not chemically compatible with polycarbonate, and will damage the dome flange if used excessively on the screws. Refer to the documentation and chemical compatibility notes of your threadlocker of choice for more information.
Only clean the dome and acrylic tubes with acrylic specific cleaner or plain water. Solvents, alcohol and other cleaners will craze and damage the material.
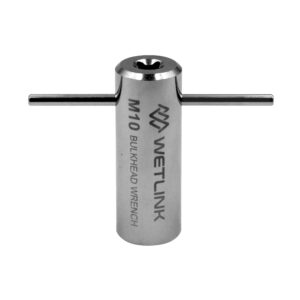
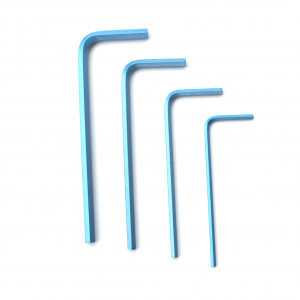
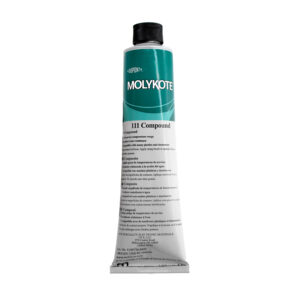
Parts and Tools
You Will Need
You will also need:
- 1 x Bottle of Threadlocker (not included)
- 1 x Isopropyl alcohol with cloth wipes (not included)
Liquid threadlocker may be used on WTEs with aluminum endcaps, however, most threadlockers are not chemically compatible with with acrylic or polycarbonate, and will damage domes or acrylic endcaps if used on any of the screws. Refer to the documentation and chemical compatibility notes of your threadlocker of choice for more information.
Video Tutorial
Assembly
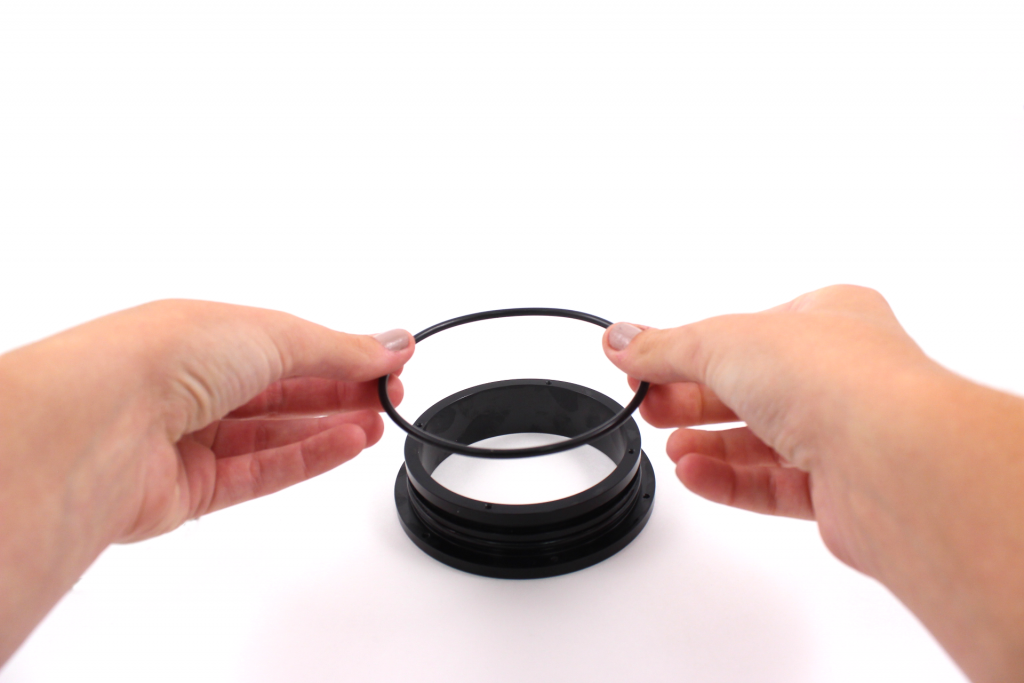
1. We recommend first cleaning the O-rings and the O-ring grooves with isopropyl alcohol. This will ensure a good seal. Next, lubricate the three O-rings with a thin layer of silicone grease and then install the two thick O-rings into the grooves on the flange. The thin O-ring is placed in the groove in the face of the flange.

2. Attach the end-caps to the flanges with 6 socket cap screws. Gently tighten the screws in an alternating cross pattern so that the O-ring is compressed but not so tight as to damage the plastic. Do not overtighten the screws!
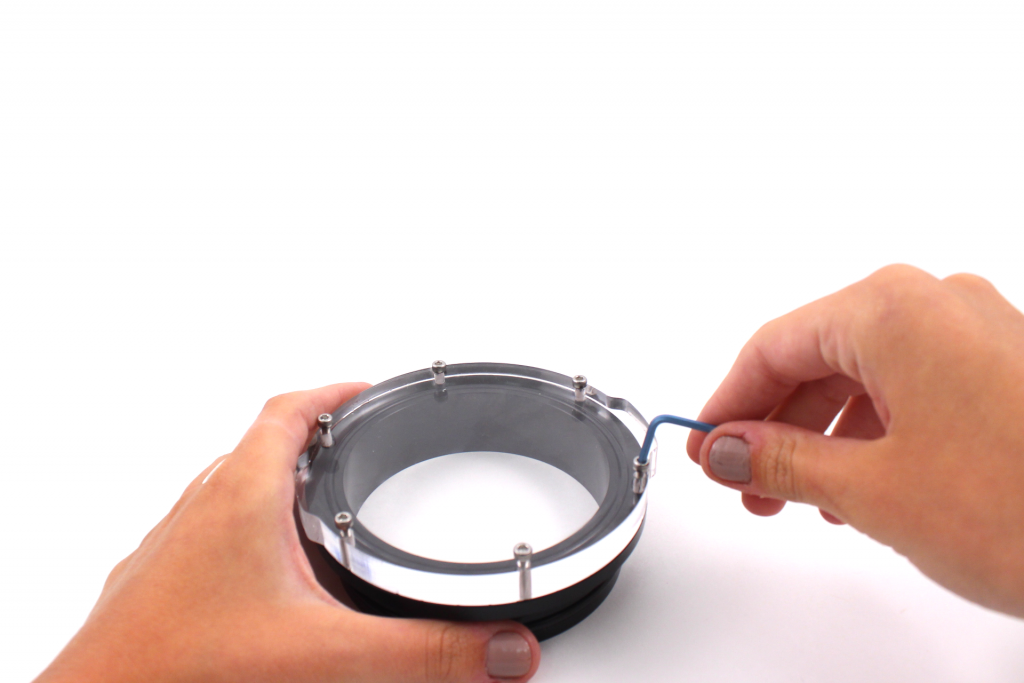
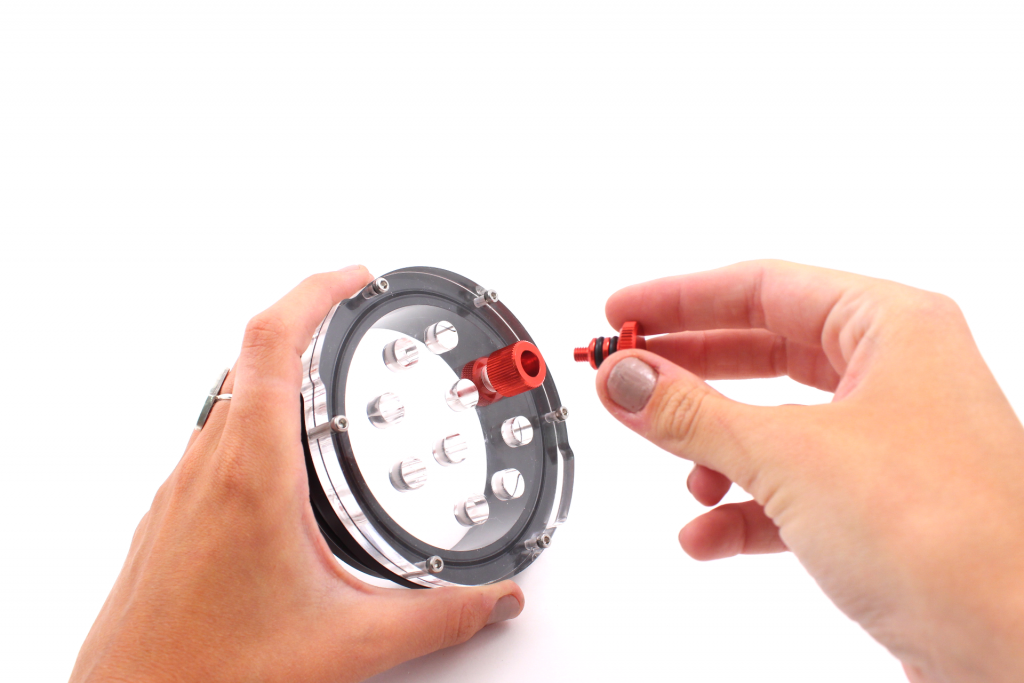
3. Install the vent and any necessary cable penetrators into the end-cap.
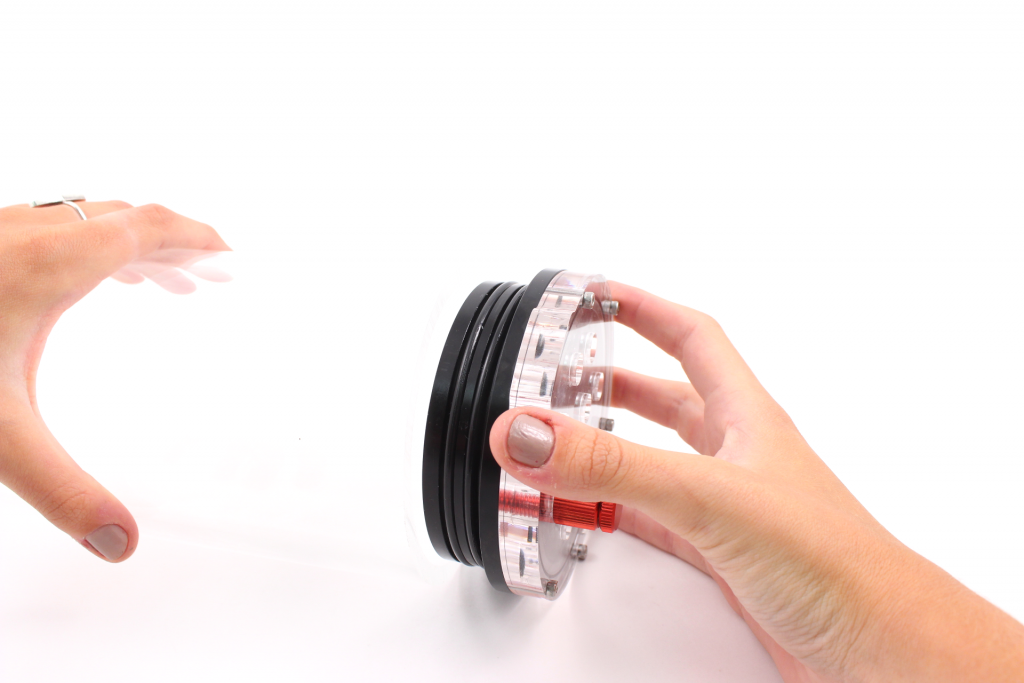
4. Install the flanges onto the tube and replace the vent cap to seal.
Opening Enclosure
1. Remove the vent plug.
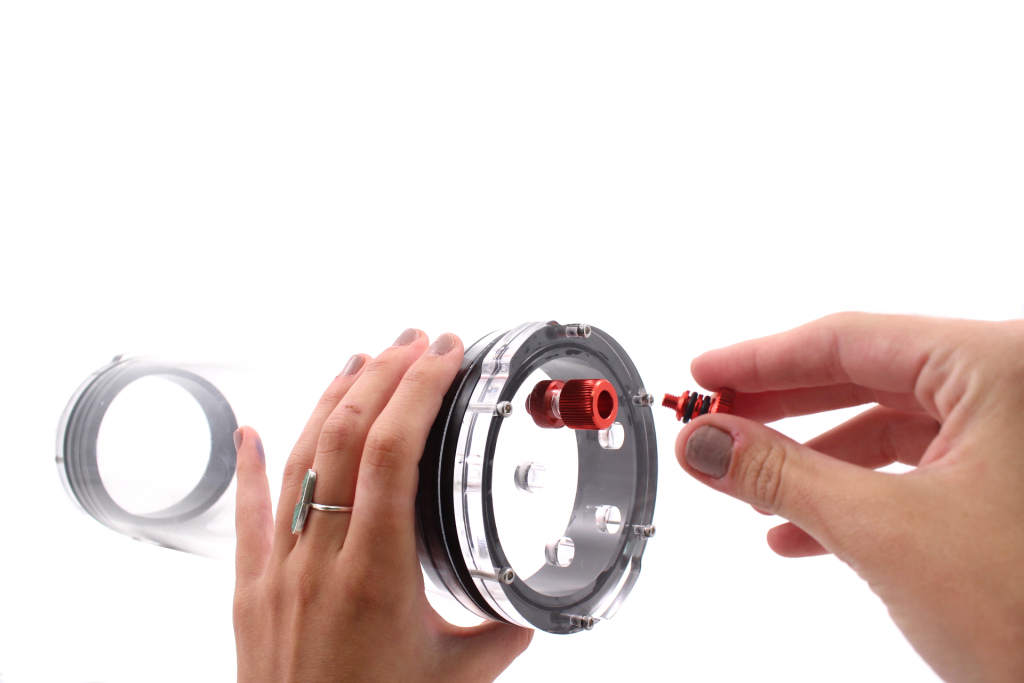
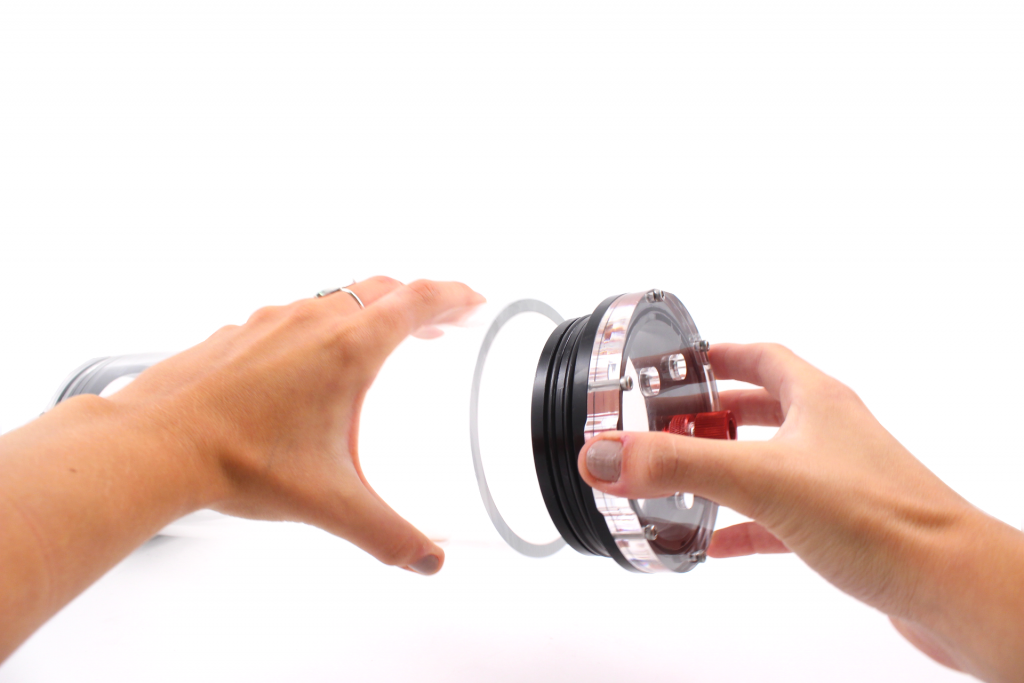
2. Remove the flange using the tabs on the sides of the end cap.
Making Custom End Caps
One of the cool things about the watertight enclosure design is that it’s compatible with all sort of end cap sizes and shapes. We’ve got a few different ones available but we encourage you to design your own to perfectly suit your application.
The CAD files above as well as the DXF drawing file attached below will give you a good starting point for your design. You’ll need access to either 3D modeling software like SolidWorks or AutoCAD or 2D drawing software like Adobe Illustrator, Inkscape, and others.
Here are a few things to remember:
- We recommend the following thicknesses of cast acrylic to handle the pressure:
- 2″ Series: 6mm / 0.25″
- 3″ Series: 9mm / 0.375″
- 4″ Series: 12mm / 0.50″
- Note the inner diameter of the aluminum sealing flange and ensure that any holes are within that diameter.
- Feel free to extend beyond the original shape to add mounting holes, etc.
Once you have a design, you can cut the parts yourself if you have a laser cutter or use an online service. We have frequently used Pololu Laser Cutting with great results!
Authors

Rusty
Rusty is the founder and CEO of Blue Robotics. His background is in engineering but he likes to be involved in everything at Blue Robotics!